What a Film Color Pipeline Actually Means (And Why It Starts on Set)
A film color pipeline is the chain of decisions, tools, and handoffs that control how your footage looks at every stage, from the moment the camera rolls to the moment the file hits a streaming platform or a theater. It’s not just “send it to the colorist.” It’s a technical agreement between your camera department, your DIT, your editor, and your colorist that keeps your image intact the whole way through.
Here’s the problem. Most indie productions treat color as a finishing move. They shoot on a Sony FX6 or an ARRI Alexa, cut in Premiere Pro, export a flat-looking file, and hand it to someone in DaVinci Resolve hoping for magic. Sometimes they get lucky. More often, they’ve already made decisions that limit what the colorist can actually do.
The pipeline has to be designed before you roll a single frame. Full stop.
Camera Log Formats and Why Your Choice at This Stage Locks Everything Downstream
Every major camera manufacturer records in a log format specifically to preserve dynamic range. Sony shoots S-Log2 or S-Log3. ARRI uses LogC3 (or LogC4 on the newer ALEXA 35). RED has Log3G10. Blackmagic has BRAW with its own internal color science. These formats look washed out on a standard monitor, and that’s the point. They’re storing more information than your eye can see in a standard viewing environment.
If you shoot in a log format, every person downstream needs to know exactly which one. If your DIT is building a LUT for on-set monitoring in S-Log3 and your editor imports the footage assuming it’s S-Log2, you’ve already introduced an error. Small, maybe. But it compounds.
This is why a color decision list (CDL) and clear camera documentation matter. The camera report should list your log profile, your color space (Sony’s is S-Gamut3.Cine, for example), your ISO, and your frame rate. Every single day. This isn’t paperwork for the sake of it. It’s information your colorist is going to need.
Dailies Are Not Optional. They’re Where Your Pipeline Gets Tested.
Dailies are the processed versions of your footage that the director, DP, and sometimes producers review at the end of each shoot day. On a properly run production, a DIT handles the data management and applies a technical LUT to make the log footage viewable without permanently baking anything into the image.
That technical LUT, typically a standard transform like a Sony S-Log3 to Rec.709 conversion, is not the grade. It’s a viewing transform. Your editor should also be using this same LUT inside their NLE so they’re cutting with an accurate representation of the image, not a flat gray mess.
In DaVinci Resolve, you set this up through the Color Management settings in your project. You tell Resolve what your input color space is (S-Gamut3.Cine/S-Log3, say) and what your output color space is (Rec.709 for a standard monitor). Resolve handles the math. Your editor sees a normalized image. When the colorist gets the project, the metadata is intact and the transforms are documented.
Skip this step and your editor is either guessing at the image or baking a rough grade into the offline cut. Neither is acceptable on a professional production.
The Offline-to-Online Handoff Is Where Most Indie Projects Fall Apart
Your editor cuts in an offline NLE, usually Premiere Pro, Avid, or DaVinci Resolve. When picture is locked, the colorist needs to relink to the original camera files, not your proxy footage, not your compressed exports. The camera originals, at full resolution, in the original log color space.
This is the conform. And if your project wasn’t set up correctly from the start, the conform is where you discover problems. Renamed files. Missing metadata. Proxies that don’t match the originals. Cuts that shift by a frame because someone was working off a different frame rate assumption.
The cleanest path is to cut in DaVinci Resolve from day one, using Resolve’s built-in proxy workflow. You generate optimized media or proxies inside Resolve, cut, and then switch back to the originals for the grade with a single click. No XML roundtrip. No relinking guesswork. Your file structure stays clean and the colorist, who might be you or might be a specialist you’ve hired, is working in the same project file.
If you’re working in Premiere, export an XML and bring it into Resolve for the grade. Just make sure your frame rate settings, sequence settings, and file naming conventions are locked before you hand anything off. Colorists charge for conform time, and messy projects cost more.
What a Colorist’s Grade Actually Involves
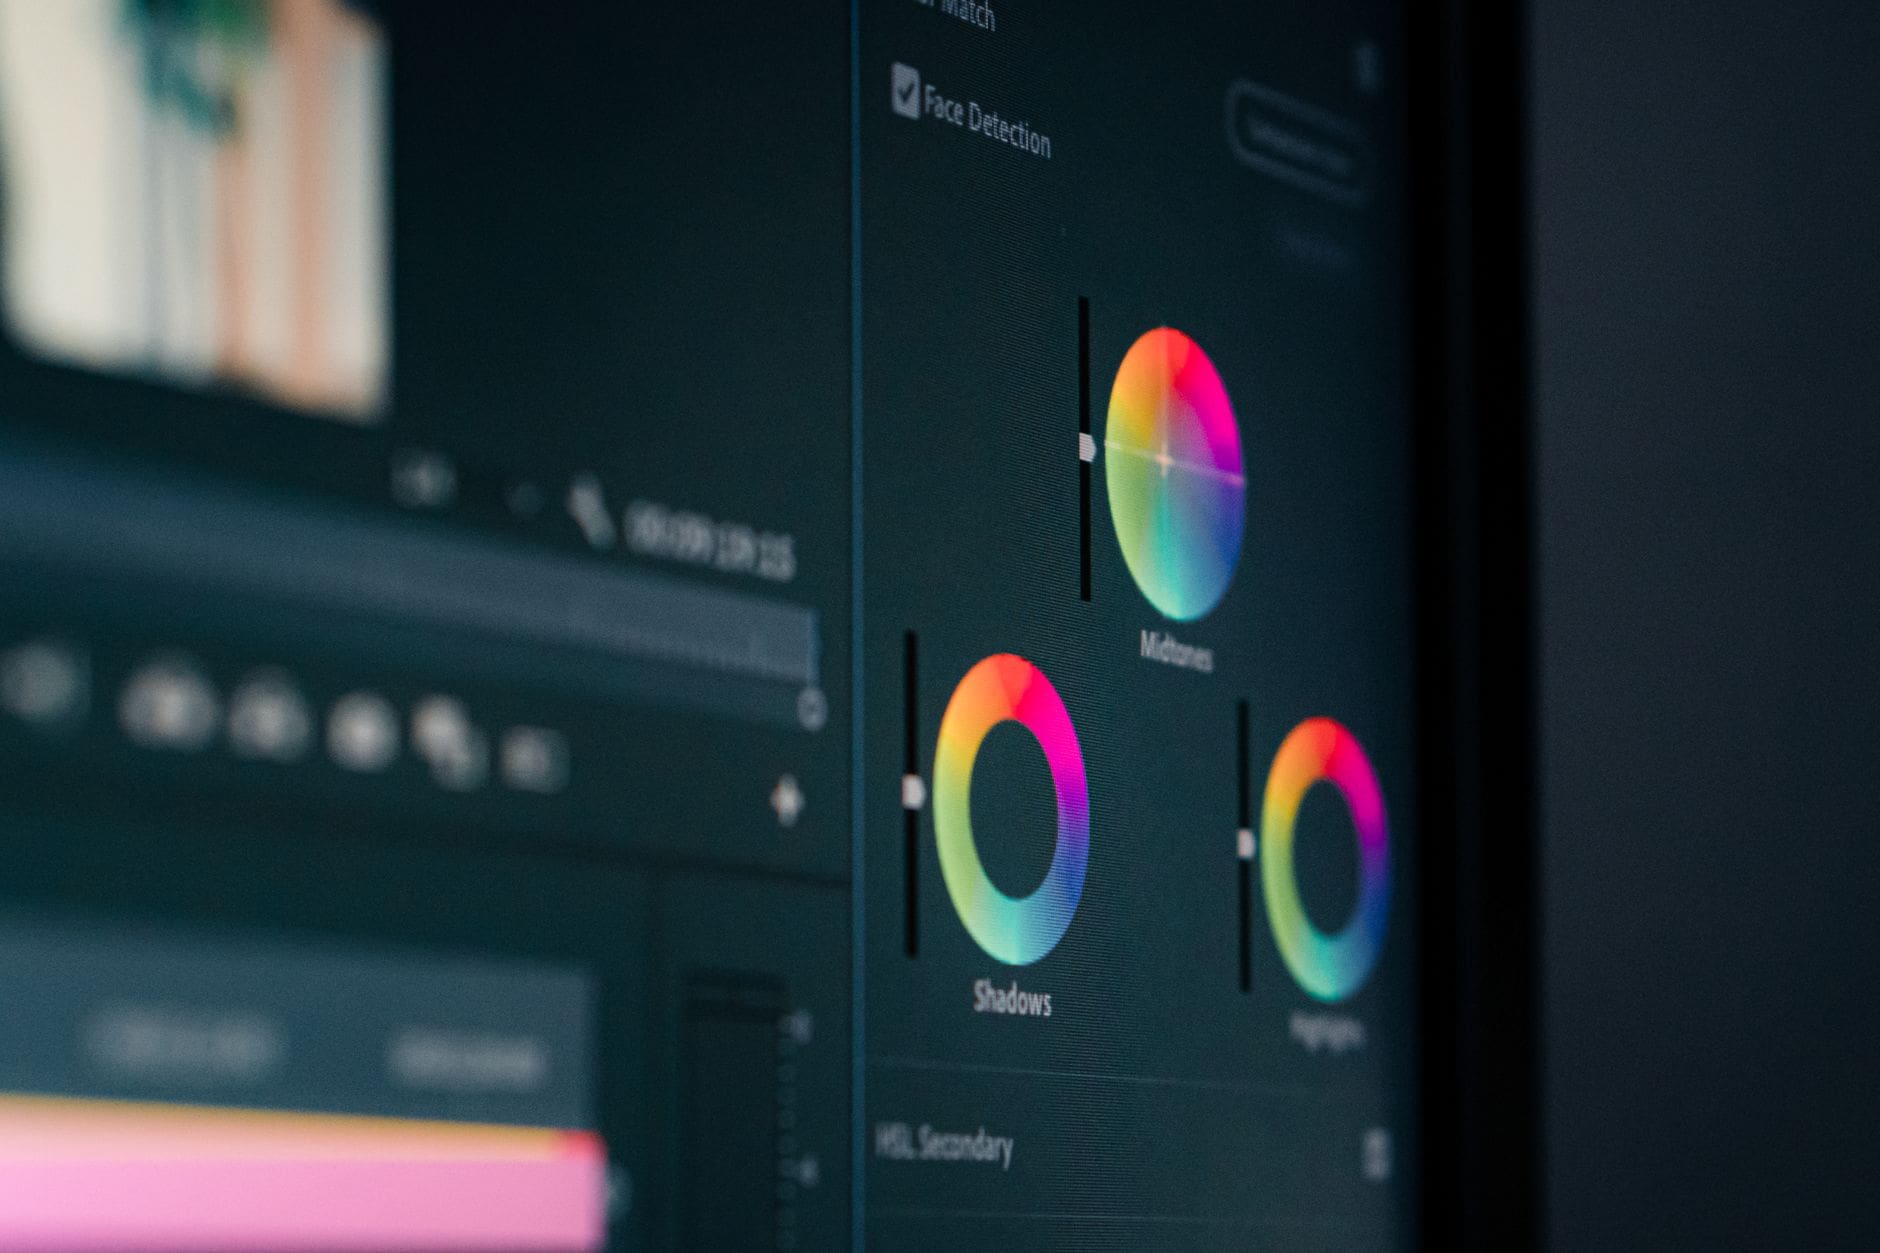
A professional colorist works in at least two passes. The primary grade balances the technical exposure across every shot, fixes inconsistencies between setups, and establishes a baseline tone for the whole piece. The secondary grade is where the creative work happens, color isolation, skin tone refinement, specific object targeting using qualifiers or masks, and the overall look of the film.
Good colorists use scopes constantly. Waveform, vectorscope, parade. They’re not looking at the image and going by feel alone. They’re keeping skin tones within a consistent range on the vectorscope, making sure blacks don’t clip to zero when they shouldn’t, and checking that highlights stay legal for broadcast if that’s a delivery requirement.
The ITU-R BT.709 standard defines the color space for HD broadcast. If you’re delivering to a streaming platform, you might be working in P3-D65 or even Rec.2020 for HDR. Each of these requires a different output transform and a calibrated monitor to evaluate correctly. A colorist working on a $2,000 Dell without calibration is not the same as one working on a EIZO ColorEdge or a Sony BVM with a hardware calibrator. The monitor matters as much as the skill.
You can find experienced colorists through the crew directory on FilmLocal, where professionals list their specific software and delivery experience.
Final Delivery and Why Your Specs Sheet Has to Come First
Every platform has a delivery spec. Netflix publishes theirs openly. Amazon does too. So does the Digital Cinema Initiatives consortium for theatrical DCP delivery. These specs define your codec, your color space, your audio loudness levels, your frame rate, and your file container. They’re non-negotiable.
If you’re delivering for Netflix, you’re probably delivering a 16-bit TIFF or EXR sequence, or a ProRes 4444 master, graded in P3-D65 at a minimum. For a standard festival DCP, you need a JPEG2000 encoded MXF in XYZ color space. Your colorist exports to those specs. You don’t hand them a QuickTime H.264 and call it done.
Get the delivery specs before you start the grade. Not after. The specs inform the working color space, the mastering format, and whether you need HDR and SDR versions. Building two versions from the same project is manageable if you planned for it. Going back to redo it after a rejected QC is expensive and embarrassing.
If you’re building out your production team or looking to hire a dedicated colorist or DIT for your next project, the film production job listings on FilmLocal are a practical place to start. And if you want to go deeper on workflow and production fundamentals, the filmmaking articles section covers a lot of the surrounding territory.



Key Takeaways
A professional film color pipeline is a technical system designed before production starts, not a finishing step applied after the edit is locked.
- Document your camera’s log format and color space in the camera report every single day. Your colorist needs this information to do their job correctly.
- Use a viewing LUT during the edit so your editor sees a normalized image. Don’t let them cut against flat log footage or bake in a rough grade.
- Set up your offline-to-online conform properly from the start. Cut in DaVinci Resolve or plan a clean XML roundtrip from Premiere. Rename nothing. Lose nothing.
- Get your final delivery specs before the grade starts, not after. The target color space and format affect every decision the colorist makes.
- A calibrated monitor is not optional for serious color work. A colorist working without a properly calibrated display is guessing, regardless of their skill level.
Build the pipeline right from day one and the colorist’s job becomes creative. Build it wrong and everyone spends the budget fixing technical problems instead.
FAQs
What’s the difference between a LUT and a color grade?
A LUT is a lookup table that maps one set of color values to another. It can be technical (like a log-to-Rec.709 viewing transform) or creative (like a stylized look). A grade is the full process a colorist performs using primary and secondary tools in software like DaVinci Resolve. LUTs are often one input in that process, but they’re not the grade itself.
Do I need a DIT on an indie shoot?
On any shoot generating serious data, yes. A DIT handles secure data offload to multiple drives, quality control checks, and on-set monitoring setup including the LUT pipeline. Without one, you’re relying on whoever has time to manage the cards, which is a risky position for your camera originals. Even a small production benefits from at least a part-time data manager.
Can I build a film color pipeline using free software?
DaVinci Resolve’s free version handles the full color pipeline, from log color management through grading and export. It’s genuinely professional-grade software, not a stripped-down demo. Blackmagic Design has invested heavily in making it a complete tool, and most working colorists use it. You’ll hit limits on some advanced noise reduction and certain effects, but the core color work is all there.
What should I give my colorist when I deliver the project?
Deliver your original camera files at full resolution, your locked edit as an XML or in the original Resolve project, your camera reports documenting log format and color space, and your final delivery specs. Also include any reference images or films the director has shared as a visual reference. The more context you give, the more targeted the grade can be.
How much does color grading cost on an indie film?
Rates vary widely. A day rate for a working colorist with a professional suite runs anywhere from $500 to $2,000+ depending on the market and the colorist’s credits. A feature-length indie film might need five to ten days of color time depending on how cleanly the project was shot and how complex the look is. Some colorists offer flat project rates. Always clarify whether conform time is included or billed separately.
Ready To Build A Color Pipeline That Holds Up From Shoot Day To Final Delivery?
The single most useful thing you can do is sit down with your DP and your colorist before production starts and agree on the camera format, the log profile, the monitoring LUT, and the delivery spec. That conversation takes two hours and saves days of fixes in post. Know your specs, document your camera settings religiously, and treat the conform as a real stage of production with its own time and budget built in. Do that, and the creative part of color grading actually gets to be creative.