Advanced Color Grading: Pro Secrets from Raw Footage to Final Export
Everything about filmmaking tries to distract you from that first fine rapturous vision you have of the film.
-Ted Kotcheff
Advanced Color Grading: Pro Secrets from Raw Footage to Final Export
Rec. 709 color space revolutionized broadcast standards with its 8-bit color depth 30 years ago. Today’s RAW footage captures up to 14 bits of color information, offering creators unprecedented ways to express their vision. This advancement in color technology has transformed how professionals approach their color grading in DaVinci Resolve and other professional tools.
Quality color grading requires a blend of technical precision and creative expertise. As master colorist David Cole aptly puts it: “Time, especially in the Color Suite, is money.” Every step in the workflow impacts the final output quality, from organizing node structures in DaVinci Resolve to mastering the color grading wheel. Modern color spaces like Rec. 2020 and DCI-P3 now provide deeper blacks and more vivid colors. Understanding color management systems is crucial for maintaining consistency across different devices and delivery platforms, especially when working with HDR content.
In this comprehensive guide to professional color grading, you’ll learn the techniques and workflows that expert colorists use to transform raw footage into polished, cinema-quality content. We’ll cover everything from setting up optimized workspace layouts to mastering advanced color correction tools in DaVinci Resolve. These skills will empower you to deliver outstanding results on any platform, whether you’re working on HDR, Dolby Vision, or standard dynamic range projects.
🎥 Need an Edge Securing Your Film Grant?
Don’t miss out! Get funding alerts and expert guidance to maximize your success. Sign up now before your next application.
By signing up, you agree to receive emails from FilmLocal. You may also receive relevant offers from trusted partners. Opt-out anytime. Privacy Policy
Understanding Raw Footage for Advanced Color Grading
Raw footage serves as the digital negative in modern filmmaking. This unprocessed data, captured directly from the camera sensor, goes beyond standard video formats. It provides filmmakers with remarkable flexibility during the advanced color grading process, especially when using professional tools like DaVinci Resolve.

Decoding Camera Color Science: ARRI, RED, and Sony
Camera manufacturers employ unique color science that shapes your grading approach. ARRI cameras, particularly the ALEXA series with REVEAL Color Science, produce a natural look with smooth highlight roll-off and rich shadow detail. Their LogC encoding mimics film characteristics, making these cameras ideal for productions seeking an organic feel with true-to-life skin tones.
RED cameras utilize IPP2 technology to deliver precise color accuracy and consistency. The REDCODE RAW format allows editors to make extensive adjustments in post-production. This makes RED cameras excellent for VFX-heavy productions that require a crisp, digital aesthetic.
Sony’s S-Log profiles generate flat images that capture rich detail across a wide dynamic range. These cameras excel at reproducing consistent colors under varied lighting conditions, offering users both accuracy and flexibility in the color grading process.
Working with Log vs. Raw: When to Choose Each
The key distinction lies in data storage methods. RAW footage preserves all sensor data before any video format conversion occurs. Syrp Lab reports that RAW maintains the camera’s full bit depth, with 12-bit files holding over 4,000 possible values compared to 256 in 8-bit. This results in smoother color transitions during major adjustments in your color grading workflow.
Log footage remains a compressed video format where white balance and exposure settings are baked in. Log profiles appear flatter than standard ones but conserve space by eliminating some repeatable values. Most YouTube or streaming projects work well with 10-bit Log, offering sufficient flexibility without the storage demands of Raw.
Setting Up Color Management in DaVinci Resolve
The primary challenge in color management is correctly identifying your camera’s color space. DaVinci Resolve handles color space automatically for RAW formats like BRAW, R3D, and ARRIRAW.
For non-RAW footage, manual Input Color Space selection is necessary based on the camera used. The log footage workflow typically begins with creating a node structure. Place the Color Space Transform (CST) first to convert Log into a wider working space like DaVinci Wide Gamut Intermediate. Creative grades are best performed in this space, followed by a final node that converts to your delivery format.
Building an Efficient Color Grading Workflow
A systematic workflow can streamline your color grading process, turning chaos into control. The best colorists optimize their work through organization, precision, and automation, especially when working with professional color grading tools like DaVinci Resolve.
Organizing Your Node Structure for Complex Grades
DaVinci Resolve’s nodes function as individual processing units that handle specific operations like color correction or blurring. Instead of making random adjustments, build a predefined node tree structure that follows a logical sequence. The first node should address global corrections such as white balance and exposure, creating a foundation for localized adjustments in subsequent nodes.
Complex projects benefit from this three-stage approach:
Stage One: Global balancing to create a solid foundation
Stage Two: Localized technical and aesthetic corrections
Stage Three: Final global adjustments to unify the look
Parallel nodes are an excellent way to gain more control in secondary color correction. They allow you to make independent adjustments from the same source without affecting other nodes.
Creating Custom Power Windows for Precise Control
Power windows enable selective grading of specific image areas. These customizable shapes help you target exact regions instead of affecting the entire frame:
Rectangular/Linear: Perfect for horizons or architectural elements
Circular: Ideal for faces or spotlight effects
Polygon: For irregular objects requiring specific outlines
Custom Curve: Offers maximum precision for complex selections
Gradient: Creates smooth transitions between areas
After creating a power window, the softening controls help blend edges naturally. You can apply tracking to match movement throughout a shot, enhancing your color grading in DaVinci Resolve.
Time-Saving Keyboard Shortcuts and Macros
In professional color suites, every second counts. These essential shortcuts will accelerate your workflow:
Alt+S – Add serial node (sequential adjustments) Alt+P – Add parallel node (independent adjustments) Alt+L – Add layer mixer (blending control) Shift+D – Bypass all nodes (view original footage) Cmd+D – Toggle selected node (track progress)
Mastering shortcuts for common tasks will reduce repetitive mouse movements. These include adding nodes before selected ones (Shift+S), activating split-screen previews (Cmd+Alt+W), and showing highlights of selected colors (Shift+H). With practice, these automations become second nature, allowing you to focus on creative decisions rather than technical operations.
Mastering DaVinci Resolve Color Grading Tools
DaVinci Resolve’s sophisticated color grading toolset is what sets it apart as a professional-grade solution. These tools empower you to transform good footage into cinematic masterpieces by providing precise control over every aspect of your image.

Advanced Color Wheels Techniques for Primary Correction
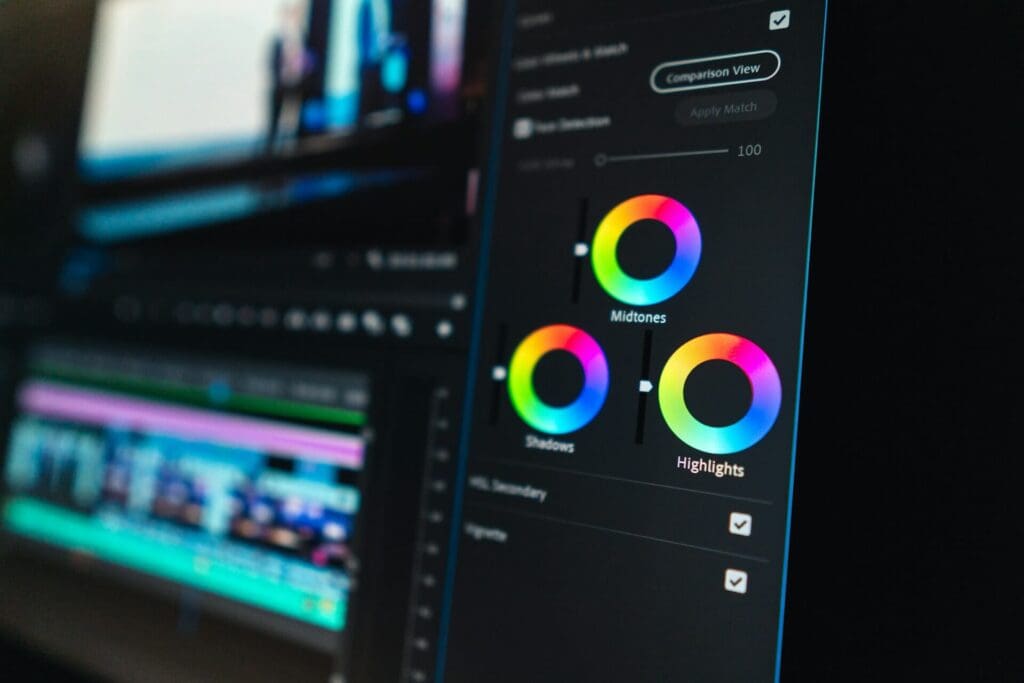
Color wheels form the foundation of all color work. Each wheel targets specific tonal ranges: lift, gamma, and gain wheels control shadows, midtones, and highlights, respectively. The offset wheel adjusts the entire image. Log wheels offer more defined tonal ranges than primary wheels, making them ideal for film-style grading.
The primary palette’s midtone detail slider enhances detail by adjusting contrast in areas with high edge detail, allowing you to increase or decrease image definition. The color boost feature naturally enhances areas with low saturation, contributing to a more vibrant image.
Using Qualifiers for Targeted Adjustments
Qualifiers help isolate specific parts of your image based on color properties. Unlike power windows, they select pixels based on color values rather than geometric shapes. DaVinci Resolve offers three qualifier types:
HSL qualifiers: Select colors based on hue, saturation, and luminance values
3D qualifiers: Provide more precise color selection via a 3D color cube
RGB qualifiers: Target colors based on their red, green, and blue values
To fix skin tones, sample the subject’s skin with the eyedropper tool. Fine-tune the width, softness, and high/low points to isolate just the skin. For better results, combine qualifiers with power windows when background elements share your subject’s colors.
HDR Color Grading: Working with Extended Dynamic Range
DaVinci Resolve utilizes 32-bit image processing to handle HDR’s expanded luminance range. While SDR tops out at 100 nits, HDR can display up to 10,000 nits of brightness. Key aspects of HDR grading include:
Signal distribution across brightness levels
Contrast adjustments within the expanded range
Unnatural lighting management
Detail preservation throughout the tonal range
The HDR palette features six tonal range wheels, offering precise control over different brightness levels. Toggle the highlight mode to see affected areas. Circular sliders allow you to modify each tonal region’s size, giving you unprecedented control over your HDR color grading in DaVinci Resolve.
Magic Mask AI for Complex Selections
Magic Mask leverages DaVinci’s Neural Engine to automatically create masks for people, faces, or objects. This eliminates the need for manual rotoscoping. Once you select your subject, the AI tracks movement throughout your clip, maintaining consistent selection.
For optimal results with Magic Mask, draw selection strokes on several key frames before tracking. This provides the AI with multiple reference points. If your mask briefly disappears, stop tracking, redraw it, and then continue. You can also combine Magic Mask with traditional roto tools for challenging scenes where the AI struggles with certain elements.
More Filmmaking Articles
Solving Common Color Grading Challenges
Even professional colorists encounter common challenges that require specific solutions and methodologies. The ability to overcome these grading obstacles distinguishes experts from newcomers in post-production.
Matching Shots from Different Cameras
One of the most demanding tasks in grading is matching footage across different camera systems. Each manufacturer employs unique “color science” – proprietary algorithms determining how sensors interpret light and color. A neutral shot on an ARRI might appear slightly green on a Sony camera.
Camera matching begins with solid primary corrections. Balance the exposure and color of each clip using scopes, paying special attention to aligning highlights, shadows, and midtones. Next, adjust tint and temperature to achieve consistent color temperature across shots.
Tools like FilmConvert’s CineMatch go beyond simple adjustments by converting one camera’s color profile to match another. These tools analyze sensor characteristics and color science, saving time compared to manual matching and excelling at matching skin tones and stock footage.
Fixing Problematic Footage: Noise, Flicker and Banding
Smooth gradients in 8-bit footage often exhibit banding, especially after heavy grading. Here’s how to mitigate this issue:
Add subtle noise or grain to break up visible bands
Export to 10-bit formats like ProRes if possible
Use dedicated debanding filters with qualified masks
High frame rates can create rolling flicker bands. Address this by creating animated masks that follow the band’s movement and applying exposure adjustments to neutralize the effect.
Perfecting Skin Tones Across Different Lighting Conditions
Unnatural skin tones are a telltale sign of amateur color work. Mixed lighting conditions shouldn’t prevent you from maintaining consistent and natural skin tones throughout your project.
For mixed lighting scenarios, isolate skin using HSL qualifiers in your grading software. Begin with a reference frame showing ideal skin tone and match other shots to it. Difficult matches with varied skin tones under different lighting become more manageable with false color viewers, which help you clearly see tonal relationships.
Skin appears more flattering under soft, diffused lighting sources compared to harsh direct light. Continuously check skin tones with vectorscope tools as you grade, ensuring they remain along the “skin tone line” – regardless of the creative look you apply to your footage.
Finalizing Your Project for Multiple Platforms
In the final stage of post-production, your masterpiece must adapt to multiple viewing environments without compromising quality. This crucial step requires careful color space management and thorough quality checks.

Color Space Transforms for Cinema, Broadcast and Web
Each display target comes with unique color requirements. Cinema projectors operate in DCI-P3, television uses Rec.709, and web content typically runs in sRGB. While Rec.709 and sRGB have similar primaries, they differ in transfer function due to varied viewing environments. Understanding these differences in advanced grading workflows ensures your creative vision translates properly across platforms.
The color space transformation should follow a strategic funnel, preserving maximum color information until final delivery. Professional pipelines move footage from camera-native spaces through a wide-gamut working space before converting to delivery-specific targets.
Creating Deliverable-Specific Versions with Shared Nodes
Savvy colorists create multiple deliverable versions through shared nodes without duplicating effort. This technique allows you to maintain a single source grade while creating platform-specific outputs.
For example, after finalizing primary corrections:
Create separate output nodes for each delivery target
Apply appropriate color space transforms on these final nodes
Share these nodes across different scenes with consistent looks
You can place final stylistic adjustments on single nodes that work across scenes with different base grades, helping maintain visual consistency throughout your project.
Quality Control Checks Before Final Export
Quality control is one of post-production’s most overlooked yet crucial steps. Professional QC requires multiple “passes” to analyze video, audio, and container format separately. The process generates detailed reports that grade issues on a 1-3 scale:
Grade 1: Slight issues noticeable to some viewers (fixing recommended)
Grade 2: Noticeable problems (fixing strongly recommended)
Grade 3: Issues noticeable to most viewers (fixing required)
Failed QC can lead to distribution deals falling through and costly delays. Final exports require proper color space handling, compression artifact checks, broadcast compliance review, frame-accurate timing verification, and correct caption/subtitle placement.
🎥 Need an Edge Securing Your Film Grant?
Don’t miss out! Get funding alerts and expert guidance to maximize your success. Sign up now before your next application.
By signing up, you agree to receive emails from FilmLocal. You may also receive relevant offers from trusted partners. Opt-out anytime. Privacy Policy
Ready to Color Grade?
Professional color grading demands both technical precision and creative artistry. This comprehensive guide explores every aspect of professional color workflows – from handling raw footage to delivering content across platforms.
Professional colorists require a solid understanding of camera-specific color science, working with ARRI’s naturalistic LogC, RED’s crisp REDCODE RAW, and Sony’s flexible S-Log profiles. DaVinci Resolve’s powerful toolset enables unparalleled control over image manipulation. Its node-based workflow, color wheels, and AI-powered Magic Mask are standout features that set it apart in the world of color grading.
The key to success in professional color suites lies in implementing smart workflows. Strategic node structures, customized power windows, and time-saving keyboard shortcuts significantly reduce time spent on technical operations, allowing colorists to focus more on creative decisions.
A comprehensive understanding of color space management and quality control ensures consistent results across platforms. Today’s colorists must adapt their work for various viewing environments, ensuring their artistic vision remains intact whether the output is for cinema, broadcast, or web delivery.
As imaging technology continues to advance, colorists who blend technical expertise with creative vision will continue to shape how audiences experience visual content. The mastery of tools and workflows discussed in this guide is more crucial than ever, empowering colorists to create stunning visuals that captivate audiences across all platforms.
For those looking to enhance their skills, numerous color grading courses and color grading classes are available, offering in-depth training on color grading in DaVinci Resolve and other professional tools. These educational resources can help aspiring colorists master the art of professional color grading and stay at the forefront of this ever-evolving field.
While you’re at it, you should check out more of FilmLocal! We have plenty of resources, and cast and crew. Not to mention a ton more useful articles. Create your FilmLocal account today and give your career the boost it deserves!


